We are redesigning our website, and we want your input! Please take our survey by May 3, 2026 to get a sneak peak at the new design and provide your feedback so we can make the new site as useful to you as possible.
The survey should take you about 15 minutes. If you complete the survey, you will have the option of entering a raffle for a free copy of the new book Tending Your Forest: A Guide to Ecological Forest Stewardship in the Eastern and Central United States by Paul Catanzaro (University of Massachusetts) and Anthony D’Amato (University of Vermont). We will be giving away a total of three copies of the book!

You can produce edible mushrooms on your property easily using hardwood logs and mushroom spawn (the “seeds” for growing mushrooms). If you follow the right process, you can harvest mature mushrooms over several years from one inoculated log. The method described here is best for growing shiitake mushrooms but will work for other mushroom varieties as well.
Steps to the process
- Gather the needed materials
- Drill holes in the log
- Place plug spawn into drilled holes (inoculate the logs)
- Seal the filled holes with wax
- Mark the log with date and type of spawn
- Place the logs in the best location
Gather the needed materials
- Hardwood log—3 to 8 inches in diameter and 36 to 40 inches long. Cut and let rest away from the sun and wind for two weeks before inoculating.
- Mushroom plug spawn—find places to buy this online by searching for “mushroom spawn.” Not all spawn grow well on every tree species, so choose a spawn based on the type of logs you will be using. If you have sawdust spawn instead of plug spawn, read our other tutorial.
- Electric drill (or angle grinder) with a 5/16” drill bit with a stop at 1 inch.
- Cheese wax or wax provided by manufacturer of plug spawn (or other food-grade wax).
- Paint brushes or sponges or cotton daubers (as needed).
- Metal tags or plastic container lids.
- Hammer and nails.

Drill holes in the log

- Drill the first row of holes about 4 to 6 inches apart along the length of the log.
- Drill the next row of holes 4 to 6 inches below the first row and shifted to the left or right by 2 to 3 inches so that the holes in the second row are not aligned with the holes in the first row. Again, the holes in the row should be spaced 4 to 6 inches apart. This diamond pattern is the best way to fill the whole log with spawn.
- Continue drilling rows of holes around the log in this pattern until you reach the first row again.
Note: Using an angle grinder with the spawn drill bit makes drilling the holes easy and quick.
Place plug spawn into drilled holes

Gently tap a plug into each hole using the hammer. Each plug needs to be inserted completely into a hole. If any part of the plug is sticking out above the surface of the log, then the holes may not be deep enough.
Seal the filled holes with wax
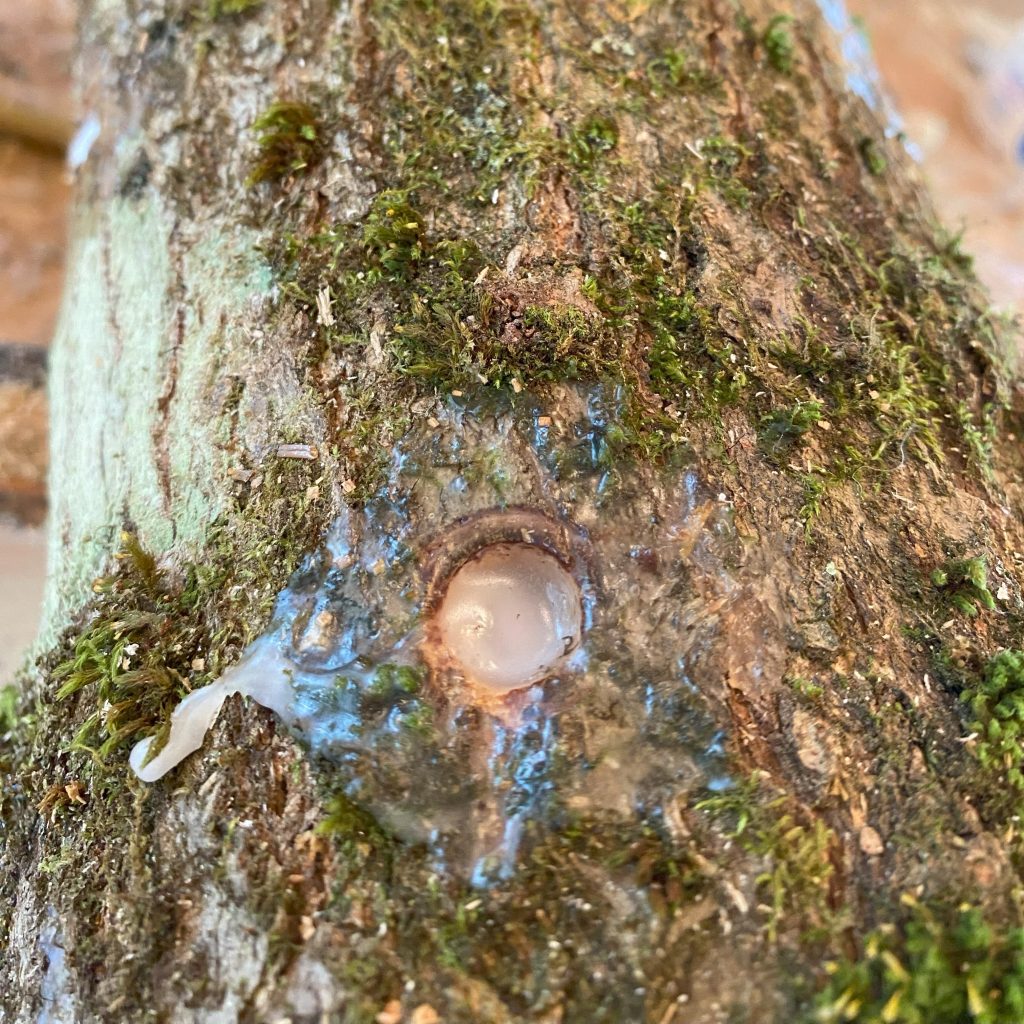
Apply the wax provided by the spawn manufacturer over the plug and nearby surrounding log bark. Completely cover the inserted plugs with wax to keep them from drying out.
Alternatively:
- Melt the cheese wax. Maintain the melted wax close to where you will be sealing the holes for easy access. An old pot and a hotplate work well for this.
- Using the paint brushes, sponges, or cotton daubers, apply the melted wax to each filled hole so that it is completely covered.
With both methods, apply the wax to any cuts to the log along the sides, but do not seal the ends.
Mark the log with the date and type of spawn used
Write the date you inoculated the logs and the type of spawn on the metal tags or plastic container covers. Nail this to the end of the log.
Place the log in the best location

Stack the inoculated logs uncovered and off the ground in a shaded location, protected from the sun and wind. This will keep the logs from drying out.
After about 12 months, the logs will start producing mushrooms. Soaking the logs in water for 24 hours will stimulate the production of mushrooms even more.
Video tutorial and printable instructions
Watch the video below to see the process in action. You can also download a printable version of this webpage (PDF).
Keep learning about…
If you have questions about growing mushrooms on logs, contact:

Bill Klase
Natural Resources Educator
william.klase@wisc.edu
715-401-4845
Page last updated November 2025.